It’s been a few weeks since I’ve added any blog entries talking about what I’ve done on the build so I’m going to get caught up in one post.
Rudder
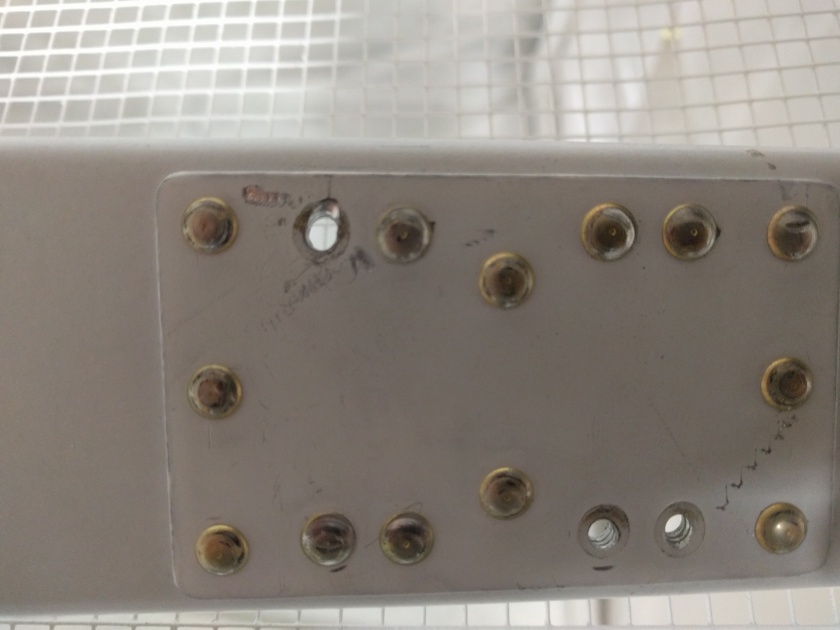
I’ll starting off with the rudder shear clip problems I had. For the first shear clip I removed that had a couple enlarged holes, I followed Van’s recommendation and just used the next size larger blind rivet for those two holes. For the second shear clip I needed to drill out, I ordered a 90 degree drill which worked slightly better for most of the rivets. I still didn’t have the drill bit perfectly lined up with the rivet while I was drilling it out and that led to one misshapen hole. For the second rivet I drilled out with it, I was using a smaller drill bit than the rivet. This loosened the rivet up enough that the rivet was spinning with the drill bit and when I tried to pull the bit out of the rivet, it snapped off inside of the rivet. After emailing with some local builders I decided to dry to use a dremel tool to cut/grind the rivet with the drill bit out of the rudder. It was difficult to use because it was a very tight fit but the grinding bit actually caught the part of the drill bit that was stuck in the rivet and pulled it out of the rivet far enough to grab with pliers so I could pull it out. I went ahead and tried to drill the rest of the rivet out with a larger bit which actually just snapped the rivet head off so it came out really easily. Luckily the last two rivets were uneventful. The holes were so messed up at this point that I had to reorder the part. Since the holes in the stiffeners had matching mangled holes, I an idea that Van’s suggested for the first clip, and I fabricated a backing plate to go on the other side of the stiffeners. Here is what that looked like after it was all riveted together:
Vertical Stabilizer
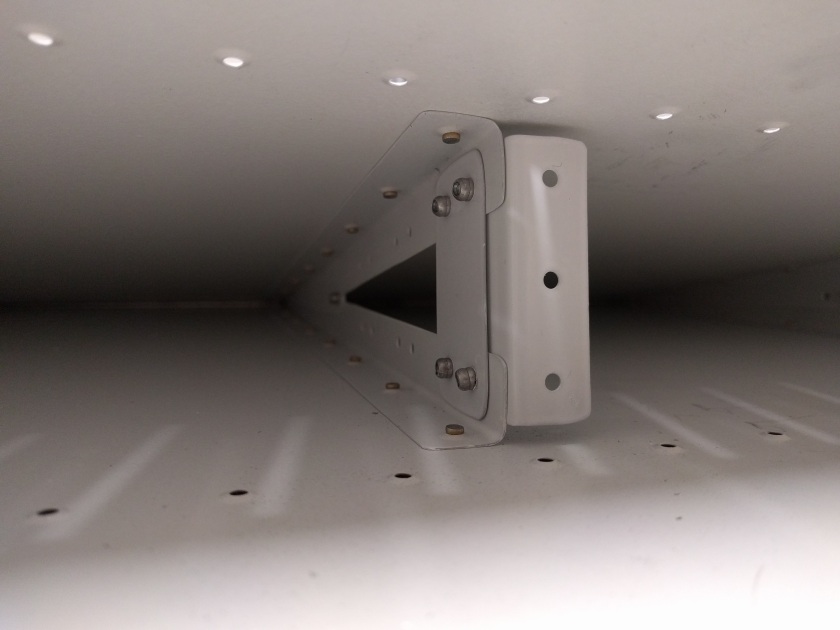
While I was waiting on the replacement parts for the rudder I started to rivet the rudder hinge brackets to the VS spar. One thing to be aware of is that the rivets the plans call for that go through the rudder hinges are a little short. I drilled two rivets out that I set before I realized that the reason they were squeezed way too thin wasn’t because of how I set the squeezer. So for these I used the next longer rivet size. Here are the two rivets that were too short for the hinge brackets.
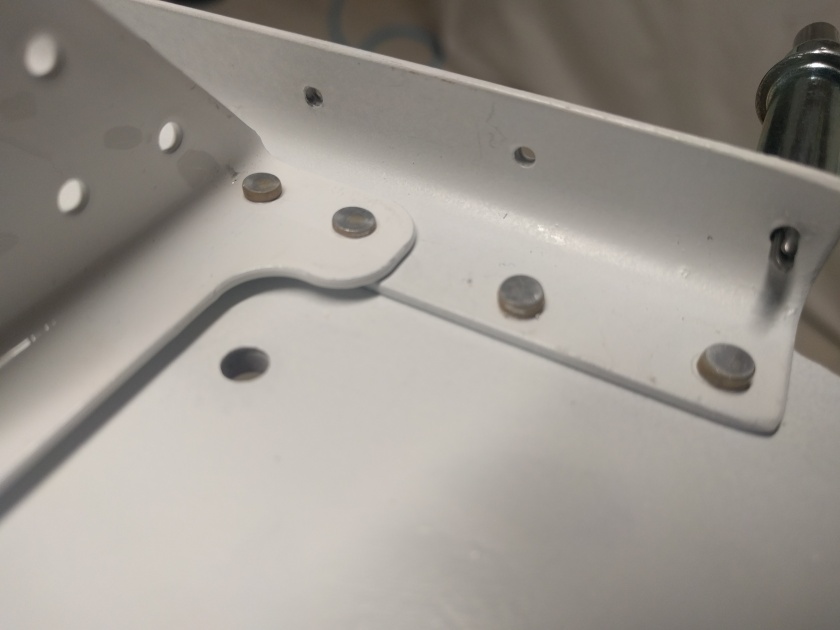
Using the squeezer worked really well until I got to a couple rivets on the hinge brackets where the squeezer just won’t fit so I had to use the rivet gun. This was going ok until I lost control of the rivet gun and it walked down the spar for a few inches. This put some small dents in the spar and really ruined my night but after chatting with Van’s they don’t think it is bad enough to be a problem and said to just smooth out the spots where the gun dug into the metal and re-prime it. Here is what it looked like:

When I moved on to the upper rudder hinge bracket I thought I was doing pretty well until I looked at the rivet heads on the manufactured rivet side. If you look at the rivet in the picture above where the gun dug into the rivet before it stared walking down the spar you can get an idea of what I did to those rivet heads on the upper rudder hinge bracket, except they were much worse. They were bad enough that I felt I should drill them out and replace them. As with all of the other rivet drilling I’ve done this didn’t go so well. Clearly I need to practice doing it on some scrap but in this case I can also blame the rivet heads, particularly one of them, because of how badly I messed it up while riveting. This is the result of my struggles to get the rivet out:
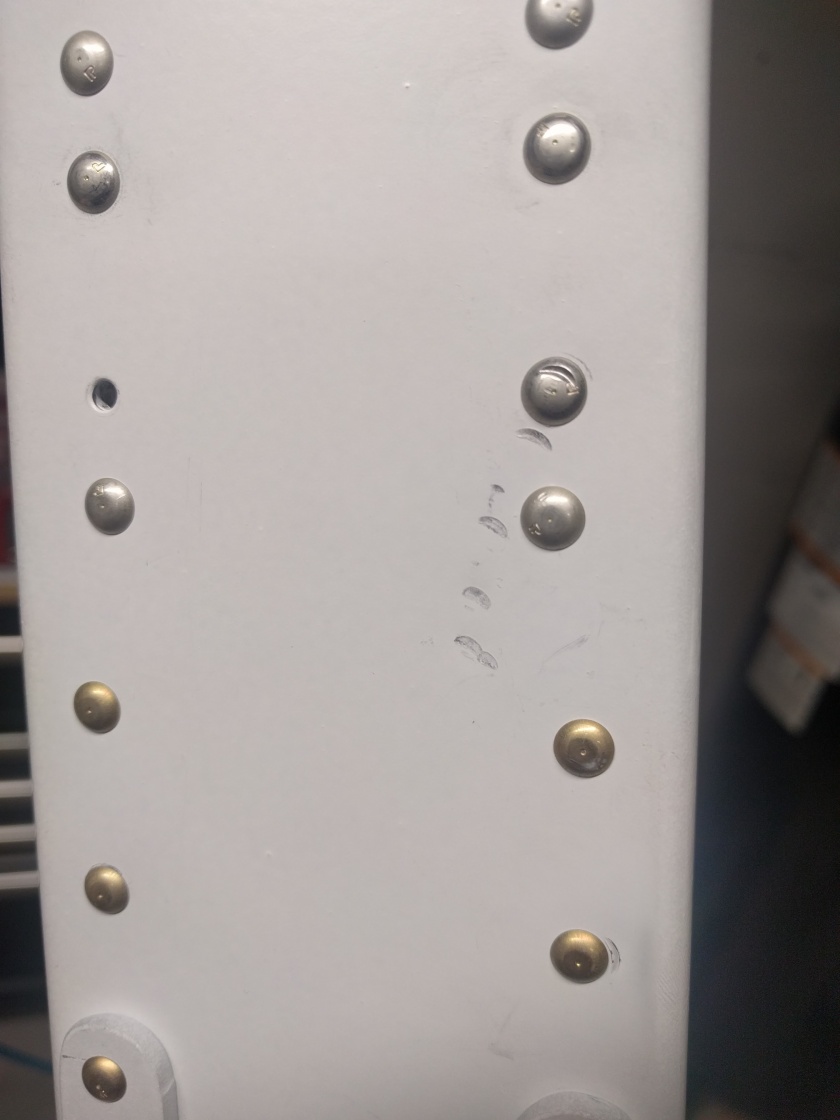
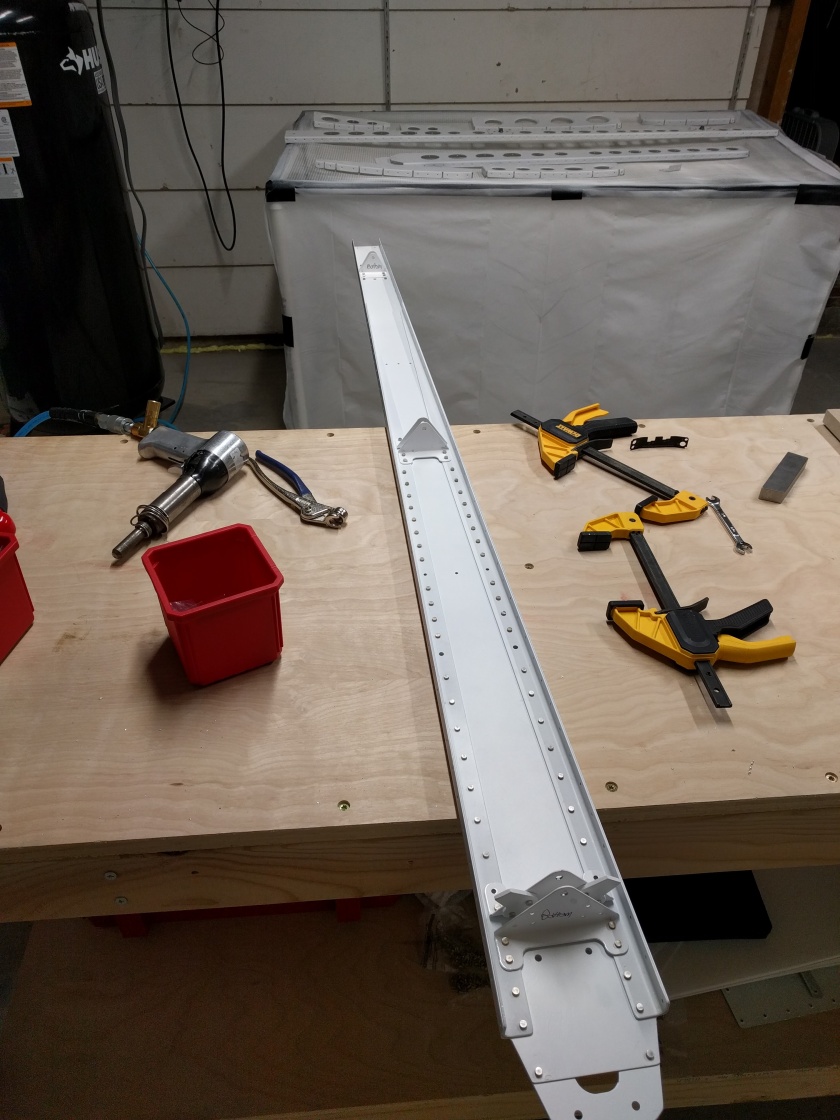
Due to all of the damage I did to that reinforcement plate I knew I should replace it, and also confirmed that with other builders and Van’s. Luckily Van’s pointed out to me that since I’m replacing the part directly under the manufactured heads of those rivets, that instead of drilling them out (which as we know now will probably lead to me damaging more of the spar) I should just grind off the heads of the rivets and then punch them out. I haven’t done this yet but I’m hopeful that I can do it well enough to salvage the rest of that spar assembly. Here’s a picture showing the whole spar assembly so far.
Horizontal Stabilizer
I’ve done a lot of deburring on the first few HS parts that are worked on. The spars for the HS are around 11 feet long so they take up a lot of space in the workshop and the edges take a while to finish. I did get a little bit of final drilling done on the rear spar for the spar doubler and the elevator hinge brackets. I also riveted together what the plans call the inboard hinge bracket assembly. This was nice and easy and left me feeling pretty good about myself.

